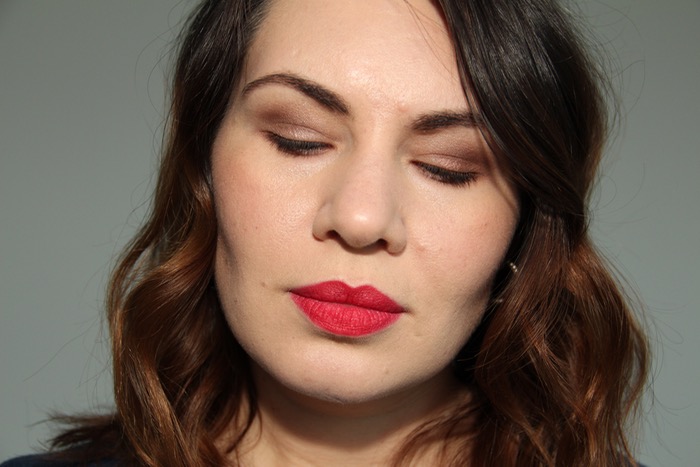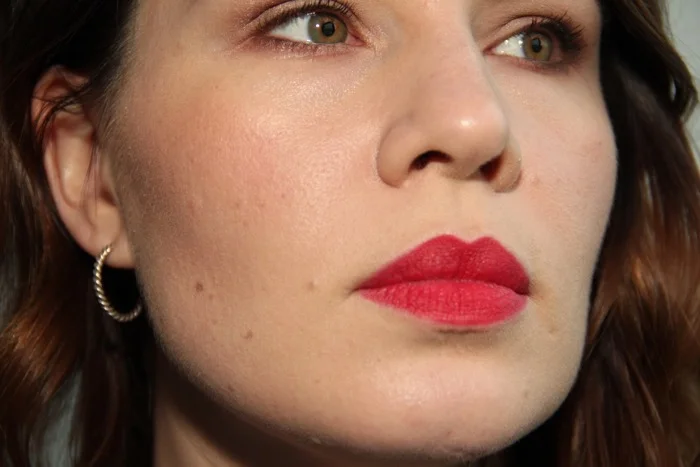
Red on red
/
Wearing Nars Flamenco from the Steven Klein Magnificent Obsession Lip Set
Easy reds. What is that? It's a red lippie which:
- Never makes you break a sweat when applying it
- Reinforcements, who needs em'? Read: Q-tips, tissues, and a bottle of micellar water
- And, one that receives the most compliments, and is quite possibly the most universally flattering shade of red.
Why Francois ever decided to permanently pull Flamenco (a sheer, candy apple red) from the shelves, it honestly alludes me to this day. But if you're in a Sephora this particular weekend, and you happen to spy this gift set leftover from the holidays on the shelf, please buy it for your BFF. She will thank you, and maybe even offer to let you borrow it from time to time. I've even been told Flamenco is their "power red," and she's a lawyer.
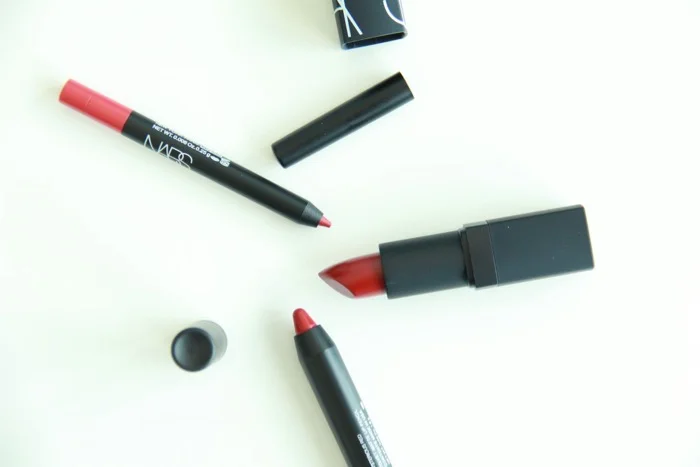
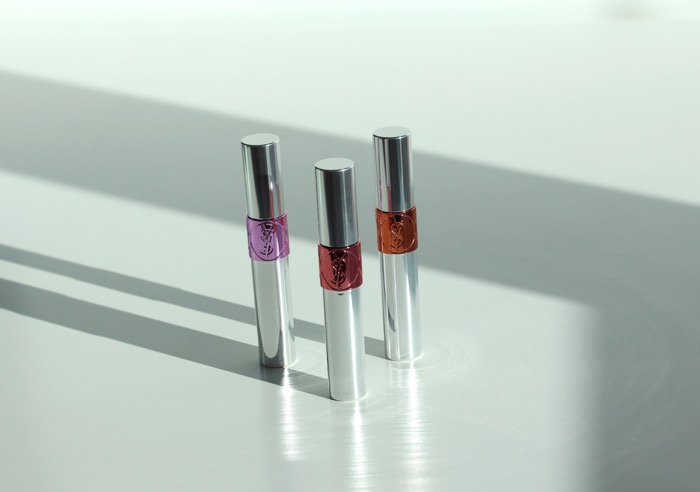
Mysterious Red Velvet Matte Lip Pencil (bottom), Flamenco (middle), and Misdemeanor Lip Liner (top)

Swatches of Misdemeanor Lip Liner (left), Mysterious Red Velvet Matte Lip Pencil (centre), and Flamenco (right)