How to achieve the million dollar eye with a handful of Benefit products

Let's mix things up a bit

Let's mix things up a bit

I think it's safe to assume a few of you out there on Instagram enjoyed an impromptu image I posted yesterday of Benefits' The Porefessional, Fake Up, Ooh La Lift and Boi-ing!

In the name of beauty and general curiosity, let's breakdown Benefit's million dollar eye.

Swatches (from left to right): The Porefessional, Ooh La Lift, Fakeup in Medium, and Laura Mercier's Secret Concealer

Swatches (from left to right): The Porefessional, Ooh La Lift, Fakeup in Medium, and Laura Mercier's Secret Concealer

Here's what you'll need (equal parts).. 

  • A primer (The Porefessional) to help smooth any fine lines, and wrinkles,
  • An eye brightener/highligher (Ooh La Lift) to illuminate the eye area,
  • A hydrating concealer (Fakeup), and,
  • An industrial strength concealer (Boi-ing!), time to bring the big guns.

Feel free to use what you already own; I swapped Boi-ing! for Laura Mercier's Secret Concealer.

Tip: Depending on how much coverage you wish to achieve or for those who are budget-conscious, skip one of the concealers. 

Using your fingers or a concealer brush, combine the products, and mix them together until they reach an even finish. Next, take a small amount of product, and draw an inverted triangle within the under eye area. The points of the base should match up evenly with the corners of your eyes, whereas the apex will hit the tops of the cheeks.

So, what's up with the upside down triangle? The inner half works to conceal, whereas the outer half lifts and highlights. I went with an equilateral triangle as my cheeks are fairly defined, but feel free to make your triangle slightly more acute to accentuate your cheekbones further. That said, I wouldn't bring the apex of the triangle down as far as the end of your nose. 

Before: no makeup

Before: no makeup

The image above is about as bad as it gets - pre-makeup, ruddy cheeks, pigmentation, blech.

If you draw your attention to the right side of the image, you'll notice I've lightly painted on the "triangle of happiness," the gateway to perked up eyes. On the left side of the image I've blended, and buffed the triangle to soften the lines.

A little makeup really goes a long way.

After

After

Don't feel like playing makeup bartender? Check out YSL's Touche Eclat, Maybelline's Dream Lumi Highlighting Concealer, or Bare Minerals' Stroke of Light Eye Brightener.

Now, kick those under eye circles to the curb. 

*This is not a sponsored post, however PR samples (The Porefessional) were provided –  Thoughts and ramblings written here are completely my own.

First and final thoughts: Benefit's They're Real Push Up Liner

They're Real Push Up Liner

They're Real Push Up Liner

We can thank Alexa Chung and Lauren Conrad for the never-ending chase of the elusive cat eye. I certainly haven't mastered it in one swipe and I don't think I ever will -- pointy ended Q-Tips and makeup remover have both been my saving grace.

I was hoping, no praying that Benefit had the solution with their latest release, They're Real! Push Up Liner. For starters, it took me 71 clicks (yes I counted) to get to the centre of the Tootsie Pop. Erm, what I meant to say is it took me 71 clicks to get the product to flow and it didn't really flow, it just kind of dispensed slowly like super thick icing busting to get out of a poorly snipped pastry bag.

File this phenomena under: things Martha Stewart doesn't find good.

The AccuFlex Tip with stopper still in place (you can toss this).

The AccuFlex Tip with stopper still in place (you can toss this).

It does't really hug. More like graze gently by.

It does't really hug. More like graze gently by.

Swatches of They're Real Push Up Liner

Swatches of They're Real Push Up Liner

Before sitting down to write this review I dragged my weary self into the bathroom for one more go, because I didn't want this to only be about my first impression.

What I liked:

  • It's wicked black, as black as charcoal (complete with soot, more on that in a sec).
  • The applicator is soft and bend-y (helps with following along the contoured shape of our eyes).

What I didn't like (yes, there are more cons than pros):

  • Didn't swipe on as smoothly. 
  • When you re-trace over the dry gel, disturbed bits will flake off.
  • One click of product isn't enough.
  • It takes a lot of work to remove. My eyes grew sore and red during the removal process.

Finally, here are a few tips I pinched from the Benefit Pros:

  • If you're not confident with applying liner in one go, stamp along your lash line and then connect the gaps.
  • Once you've initially dispensed a small amount of product after opening, wipe the tip on a tissue, click again and then apply. This will help reduce your chances of applying too much product.

My first attempt wasn't perfect and quite frankly I was annoyed because I still had to go back in and perform a small amount of clean up due to the aforementioned fall out and on account of my shaky, unskilled hands.

Wearing They're Real Push-Up Liner

Wearing They're Real Push-Up Liner

Touching back on removal for a moment, do me a favour by saving yourself $18.00 and don't buy the The'yre Real Remover. Simply soak a cotton pad with oil-free makeup remover, Neutrogena's version is one I can always count on.

Work slowly, patience is a virtue - just keep repeating that, Nicole.

The Bagful breakdown:

Total amount for Benefit's They're Real Push Up Liner:

Value for money spent (performance and quality):

  • 3 out of 10 bags — Benefit, you continue to disappoint me.

Would another purchase be on the horizon?:

  • Nope. I'll gladly fiddle about with MAC's Fluidline in Blacktrack and an angled eyeliner brush any day of the week.

Brow wow? Trying out Benefit's Gimme Brow

Lately I've been filling in my eyebrows with MAC's Mystery and locking them down with Lash Control's Clear Coat Control Mascara and Brow Fix (a heaven sent gem by way of Violet Box). But if I can expedite my morning makeup routine, that means I'll be able to catch a few more precious winks!

Benefit's Gimme Brow in light/medium

Benefit's Gimme Brow in light/medium

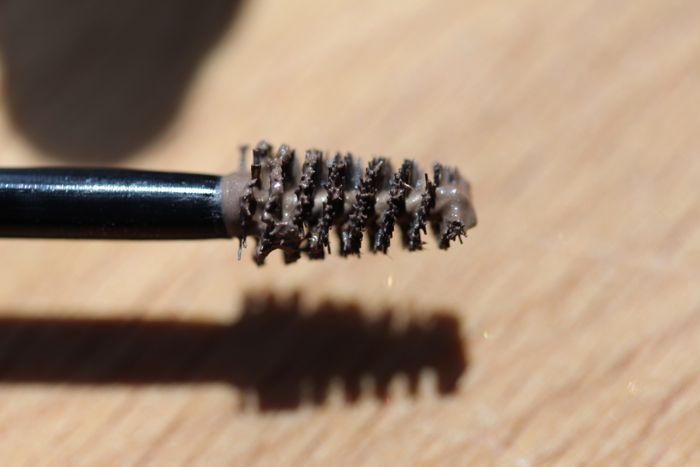
If you're not into a multi-step process then your best bet is to go check out Benefit's Gimme Brow.  Gimme Brow is a tinted gel that is applied with a built-in user-friendly miniature spooley brush -- the gel works by both laying colour down beneath your brow hairs and by plumping up the hairs that are there.

le petit spooley brush

le petit spooley brush

IMG_5369.jpg
Swatch of Light/Medium

Swatch of Light/Medium

Gimme Brow comes in two shades, light/medium (a grey putty) and medium/deep (dark brown). I snapped up the lighter of the two with little hesitation as stocks were dwindling pretty quickly. Looking back, I now see the error of my ways because light/medium is best suited for dark blondes and light haired brunettes. To be honest, it didn't really enhance what I already have, but at least it dried fast and kept my brows in place.

Next time I visit Benefit I'll definitely give medium/deep a spin.

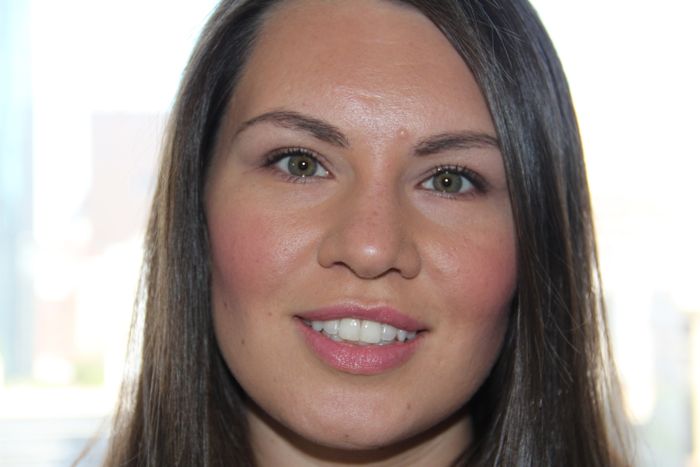
Wearing Benefit's Gimme Brow

Wearing Benefit's Gimme Brow

Most of us don't have Lilly Collins calibre eyebrows from years of misguided over-plucking, ahem; I encourage you to reclaim them by filling your brows in one way or another.

I take my brows seriously, just ask Romina

The Bagful breakdown:

Total amount for the Benefit's Gimme Brow:

Value for money spent (performance and quality):

  • 6 out of 10 bags — it didn't blow my mind, maybe I'll change my opinion when/if I try the darker shade.

Would another purchase be on the horizon?:

  • Nothing else has really caught my eye.

How do you maintain your brows?